When I purchased my old house, I wanted to add ‘new’ doors at the back of the house from the kitchen. I thought this would add charm to the space and I liked the idea of outdoor access here for carrying in groceries and things ...
Read MoreBEFORE & AFTER: FLOORS & FIREPLACE GET AN UPDATE
In this living room I had no problem painting the original brick fireplace white, along with the shelves, mantel and hearth. The walls, ceiling and trim throughout also got a fresh coat of paint. The other big (but subtle) change was having the floors redone. ...
Read MoreBEFORE & AFTER: CREATING A DEN
In this picture above you can get a peak into the den off the rest of the open concept main floor. The den has my favourite double French doors and a large bookcase on the wall to the right. There's a TV in here, two ...
Read MoreBEFORE & AFTER: AFFORDABLE, DIY KITCHEN
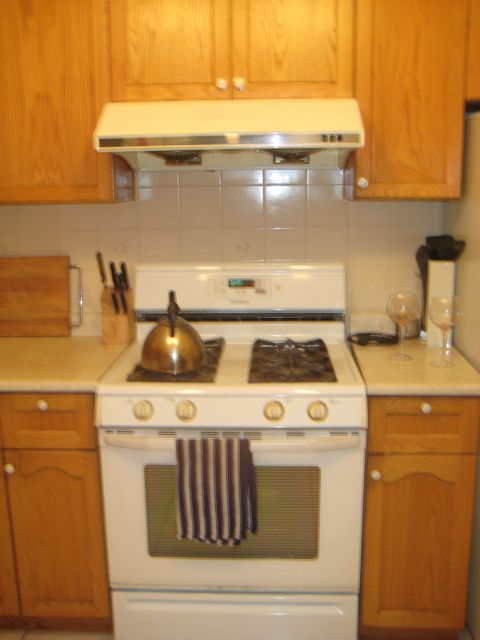
In this kitchen update, the only material I used was paint and that was the only cost involved! This is what I would call a true paint makeover. Here are a few BEFORE pictures:
And a few more of the AFTER pictures. I painted 8 different surfaces in this kitchen, can you spot the changes?
Painted surfaces included:
1. The fridge: in black chalkboard paint, probably my favourite part of this transformation and was so easy to do!
2. Upper Cabinets: white
3. Lower Cabinets: F & B, mouses back
4. Counter
5. Backsplash: you might be able to see in the 'before' the backsplash had a dated flower motif throughout the tiles
6. Hardware: spray painted all the old hardware silve
7. Range hood: it was an 'almond' colour before and didn't match the white stove
8. Dishwasher front: painted in lower cabinet colour to blend in
BEFORE & AFTER: KITCHEN SIDE DOOR
In my kitchen there is a side entry with a charming old door. I wanted to make this a functional area – an extension of the kitchen with the BBQ and a small porch off of this side of the house.
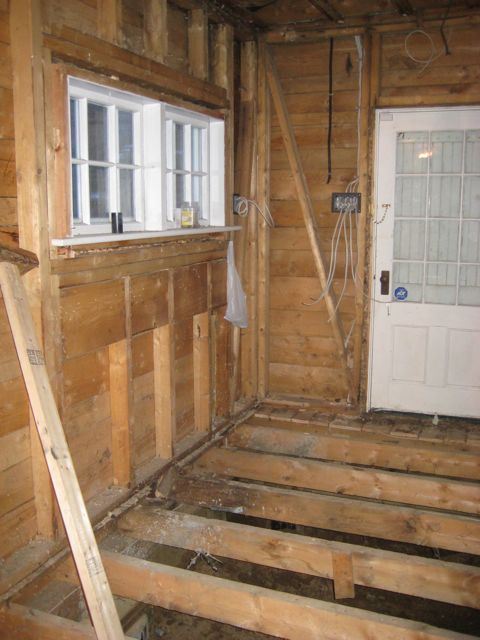
I wanted to keep the original door (I even have the old skeleton key for it), but pretty well everything else around it changed. You can see it here in the “before” picture – this is pre-renovation.
At this stage there was a wall to the right and a sink on the left with a washer. There was a drop ceiling, the floors were uneven and the great views at the back of the house weren't visible.
When the renovation started and the place was being gutted, opening up the wall on the right hand side made a huge difference to the light in the house.
This end of the house required some structural underpinning so the floors were actually completely removed as that work was done from the inside and outside of the house.
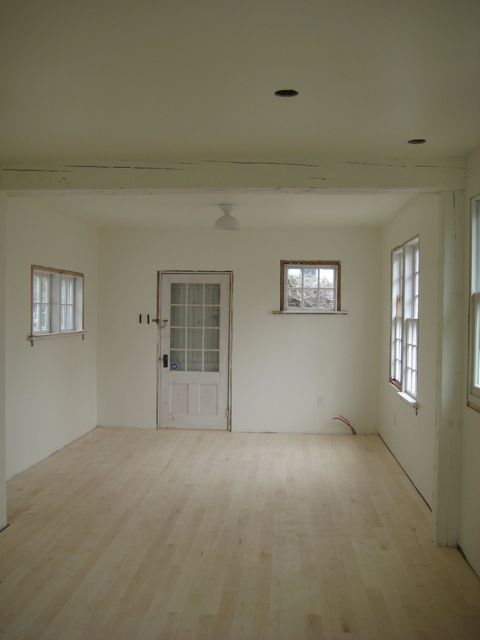
Then came a new subfloor, beams, wiring and insulation. Bigger changes are visible after the new drywall is up. Things start to feel like a house again!!
Finally the new floors are in and the cabinets and counter go in back here. There is a coat closet, pantry and the two chairs in front of the window. The sun rises here and there’s an ocean view out the window, so it’s a great place to sit in the morning.


