Since it's officially the first day of fall, it's a great time to dream about a fireplace. If you're keen on a fireplace but don't want the hassle or expense of adding gas, electrical, etc. – here is an option to consider. In the living room ...
Read MoreBEFORE & AFTER: KITCHEN SIDE DOOR
In my kitchen there is a side entry with a charming old door. I wanted to make this a functional area – an extension of the kitchen with the BBQ and a small porch off of this side of the house.
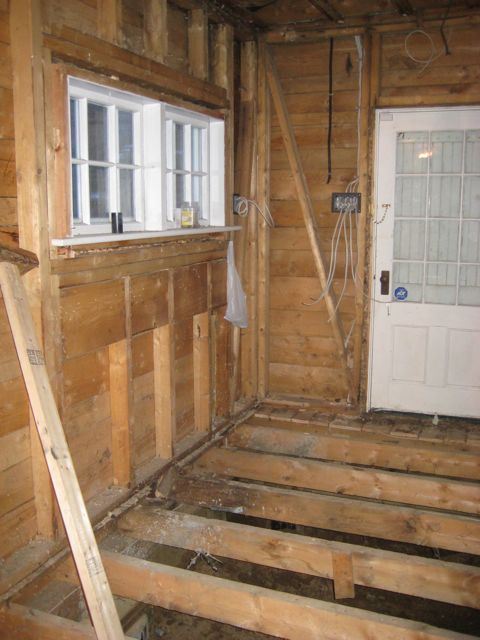
I wanted to keep the original door (I even have the old skeleton key for it), but pretty well everything else around it changed. You can see it here in the “before” picture – this is pre-renovation.
At this stage there was a wall to the right and a sink on the left with a washer. There was a drop ceiling, the floors were uneven and the great views at the back of the house weren't visible.
When the renovation started and the place was being gutted, opening up the wall on the right hand side made a huge difference to the light in the house.
This end of the house required some structural underpinning so the floors were actually completely removed as that work was done from the inside and outside of the house.
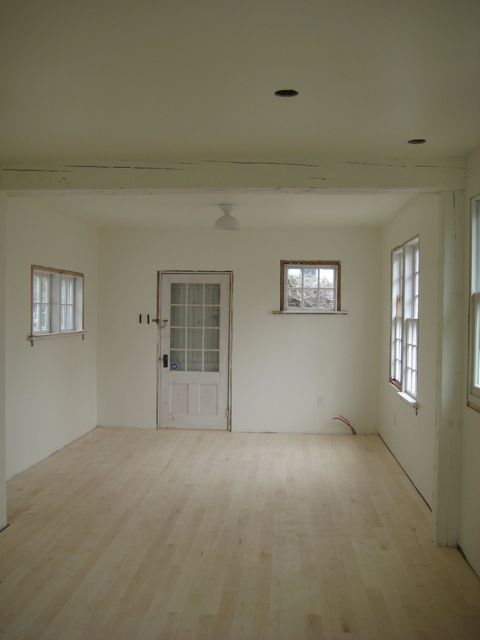
Then came a new subfloor, beams, wiring and insulation. Bigger changes are visible after the new drywall is up. Things start to feel like a house again!!
Finally the new floors are in and the cabinets and counter go in back here. There is a coat closet, pantry and the two chairs in front of the window. The sun rises here and there’s an ocean view out the window, so it’s a great place to sit in the morning.
BEFORE & AFTER: AN ENTRY GETS A NEW LOOK
In a past renovation I gave this entry a full makeover. Here is the before picture from another angle (coming in the front door).
This was one I did myself, so I spent a couple weeks one summer lifting the old floor, removing the wallpaper (the walls and border are paper), taking down the blinds and getting a new light fixture. The floors in here were a pain to remove, there was carpet over old vinyl that had been cemented down. For such a small space most of my time was spent removing the old vinyl floor. Finally I removed the vinyl and discovered the original wood floors underneath. They were in rough shape but nothing a coat of paint couldn't fix.
Here is another look at the corner of the room from the living room, which shows a similar angle to the after picture.
I gave the floors a coat of black paint and the walls, trim and ceiling in white. Some simple decor (and big hooks on the wall you can't see from here). A sisal rug, big mirror framed in black and small table (that I painted flat black) made all the difference. And here are the results:
BEFORE & AFTER: A KITCHEN TRANSFORMED
The before pictures of this kitchen really say it all! Here are a couple of pictures of how the kitchen looked initially, it hadn't been changed in many years.
The plans were to gut this kitchen – remove the old cabinets and everything else in it. The layout stayed the same (roughly) but a new floor was put in and we also opened up a 'window' in the wall opposite the sink so the kitchen was brighter and more open to the living room. This made a big change to the whole house. We added new cabinets, counters, all new appliances, new sink/faucet, hardware, lighting and backsplash. Pretty much everything! Here are the results.
BEFORE & AFTER: CABINET
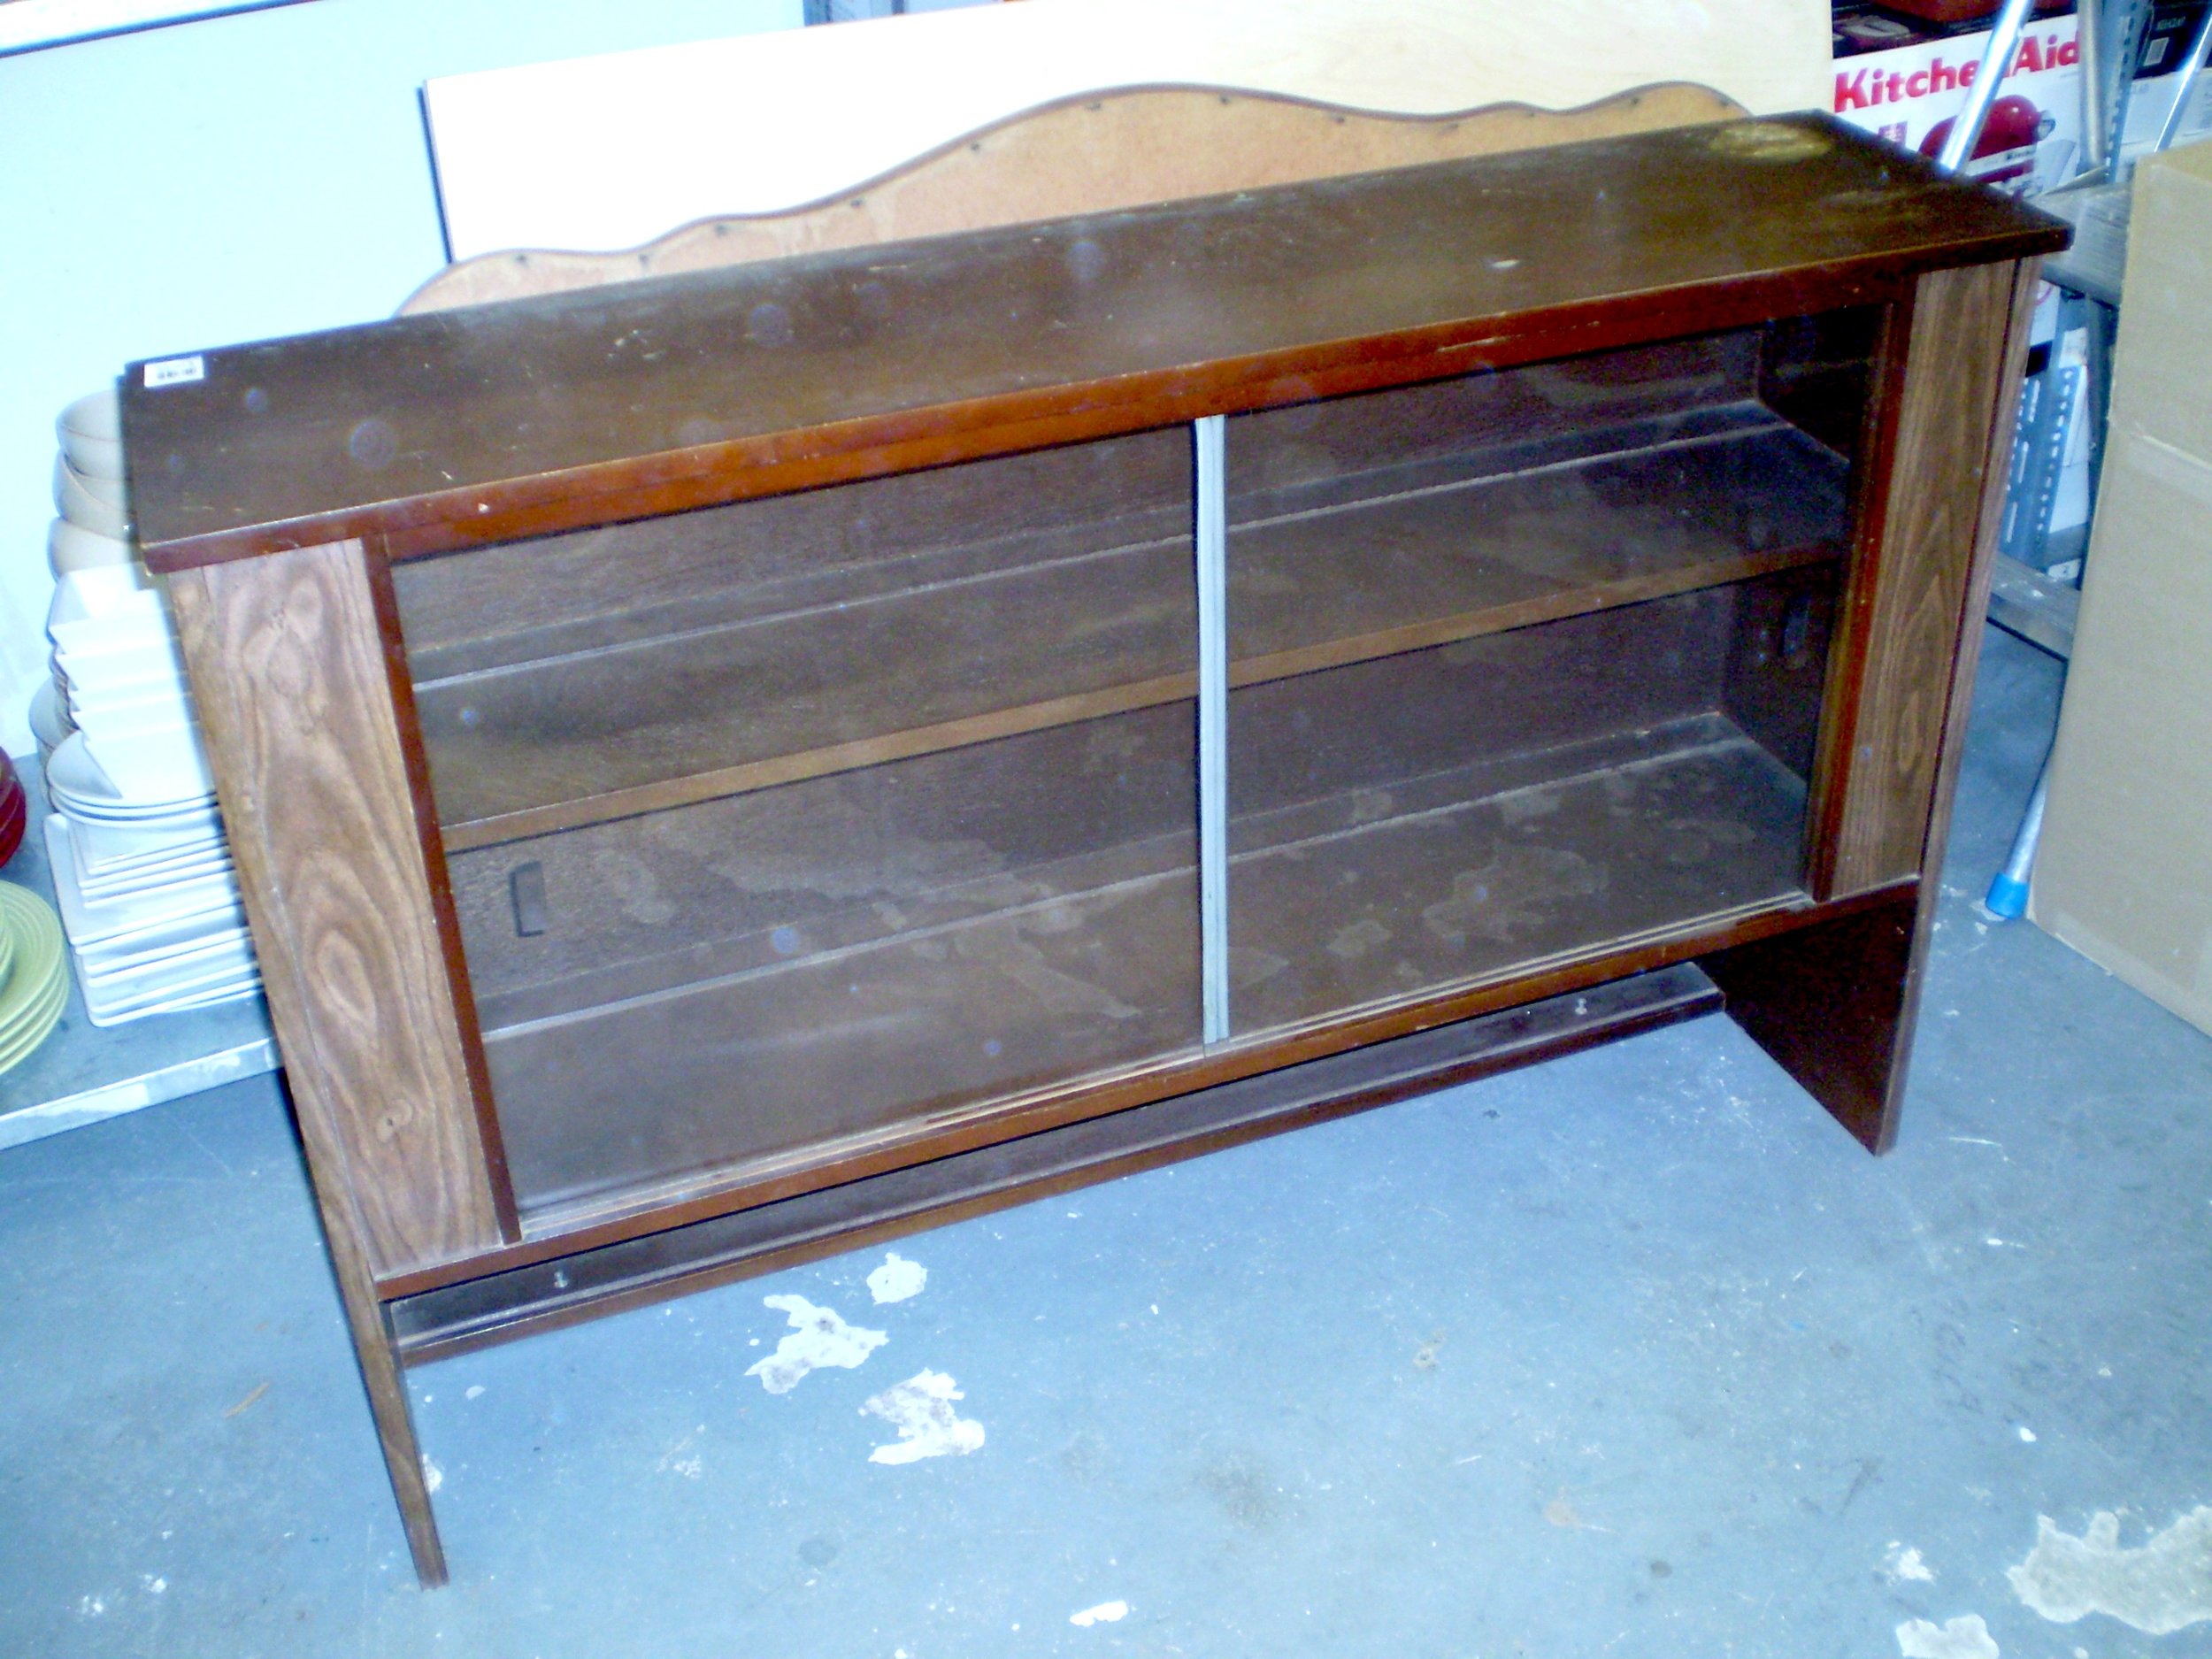
Back when I was working on CBC TV doing a regular segment called Deb on a Dime, I was always looking for inexpensive furniture. I'd often go by Value Village and check out the second hand furniture, and this is where I found this cabinet. I wanted to show this makeover because you really can decorate on any budget. Sometimes it means you'll have to get your hands dirty and Do-It-Yourself but you can find some great treasures. The things I always look for are the size and shape of a piece of furniture, everything else can be changed. For this project I needed a narrow cabinet and this one fit the bill. It also provided a pretty good amount of storage inside the unit. I picked it up for $9.99, here it is before:
It definitely wasn't pretty but I could see the potential. I spray painted it white and I covered the glass doors with frosted vinyl. It didn't take a lot of time, or cost much in materials, to totally transform the cabinet. Here it is after:


