I've been a fan of painting kitchen cabinets for many years. I first painted an entire kitchen for a design segment on CBC back many years ago. Since then I've painted a few of my own kitchens too. In the kitchen above, I bought store bought cabinets ...
Read MoreHOW TO PICK A BACKSPLASH FOR YOUR KITCHEN
I've been thinking a lot about backsplashes these days because I need to choose one for my own kitchen, which you can see above. Typically my rule of thumb is to go with a fairly simple and quiet backsplash, but of course it completely depends ...
Read MoreDEB'S TOP THREE: BARSTOOLS
Buying bar stools for your kitchen can take some thought. The style should be in line with the look of your kitchen and there are a lot of different stools available. Also, the function and comfort are very important depending on how you use the space – for example, is this an area where people will be sitting for hours or is it a temporary perch. Another important element is the overall height required; they come in two sizes: counter height to fit a 36" standard counter or bar height, to fit a higher counter.
You'll want to think about other functional aspects: do you want a back or arms on the stools? Do you want fabric or leather seats or something more durable with wood or metal? Do you want a modern look or something traditional?
Here are three classic and stylish options.
1. Tolix stool from Design Within Reach
2. Vienna black stool from Crate & Barrel
3. Bentwood counter stool from West Elm
BEFORE & AFTER: AFFORDABLE, DIY KITCHEN
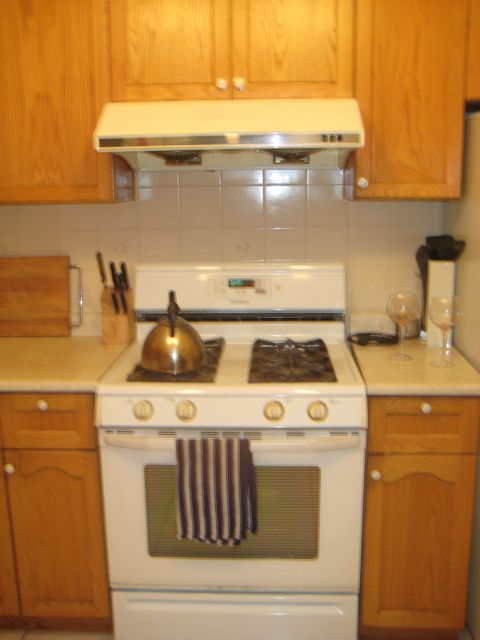
In this kitchen update, the only material I used was paint and that was the only cost involved! This is what I would call a true paint makeover. Here are a few BEFORE pictures:
And a few more of the AFTER pictures. I painted 8 different surfaces in this kitchen, can you spot the changes?
Painted surfaces included:
1. The fridge: in black chalkboard paint, probably my favourite part of this transformation and was so easy to do!
2. Upper Cabinets: white
3. Lower Cabinets: F & B, mouses back
4. Counter
5. Backsplash: you might be able to see in the 'before' the backsplash had a dated flower motif throughout the tiles
6. Hardware: spray painted all the old hardware silve
7. Range hood: it was an 'almond' colour before and didn't match the white stove
8. Dishwasher front: painted in lower cabinet colour to blend in
BEFORE & AFTER: KITCHEN SIDE DOOR
In my kitchen there is a side entry with a charming old door. I wanted to make this a functional area – an extension of the kitchen with the BBQ and a small porch off of this side of the house.
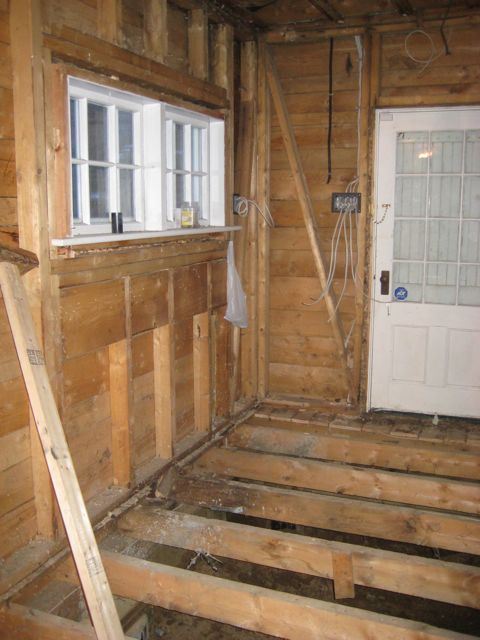
I wanted to keep the original door (I even have the old skeleton key for it), but pretty well everything else around it changed. You can see it here in the “before” picture – this is pre-renovation.
At this stage there was a wall to the right and a sink on the left with a washer. There was a drop ceiling, the floors were uneven and the great views at the back of the house weren't visible.
When the renovation started and the place was being gutted, opening up the wall on the right hand side made a huge difference to the light in the house.
This end of the house required some structural underpinning so the floors were actually completely removed as that work was done from the inside and outside of the house.
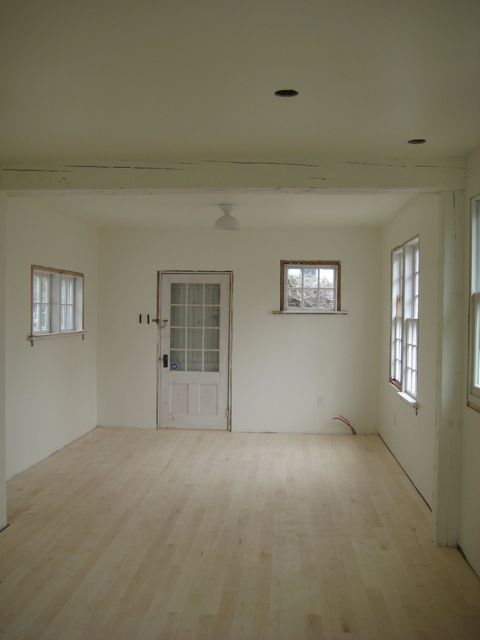
Then came a new subfloor, beams, wiring and insulation. Bigger changes are visible after the new drywall is up. Things start to feel like a house again!!
Finally the new floors are in and the cabinets and counter go in back here. There is a coat closet, pantry and the two chairs in front of the window. The sun rises here and there’s an ocean view out the window, so it’s a great place to sit in the morning.


