When I bought 'The Woodbox', one of the many features I loved about the house was that it had so much original character and charm intact. The original house was built in 1844, and there have been various additions on the house since then. Regardless, ...
Read MoreBEFORE & AFTER: LANDING & STAIRS
In my house I have a large landing between the second and third floors. I, of course, painted everything white. It's not how it looked before! Here it is in its original state with wallpaper and brown floors. The old plaster walls and ceilings were all in very rough shape (not to mention the layers of wallpaper in some areas), so new drywall throughout was in order. Also since all new electrical was being done in the house they had to put a lot of holes in the walls for wires and cables. These before shots are of the landing and looking into the bedroom.
Now here it is once we had new drywall painted and a coat of white paint on the floors.
And finally...with furniture, rugs and art on the walls!
BEFORE & AFTER: AN OLD BATHROOM GETS A NEW LOOK
A bathroom renovation can become extensive pretty quickly. In my case I not only renovated the bathroom, but I actually moved the second floor bathroom to a new location. The house was built in 1844 and had several additions over the years. The original second floor bathroom was over an addition, and when the house was being gutted, all the plumbing was being redone. Since the plumbing all had to go, I also wanted to move all of the new plumbing to be accessible in the basement of the house (previously pipes were running out into crawl spaces and under additions). I was able to layout the house so this worked, and I was so happy to have all the brand new plumbing easily accessible in the basement. The planning of the bathroom took some figuring out. There was a very small room at the front of the house that I felt like would be the best spot to take over for the bathroom. I wanted to use the original pedestal sink and claw foot tub – I especially loved the old chunky hardware on the sink and the tub. There was a time when I thought I wouldn't use the sink, but I'm so glad that I did.
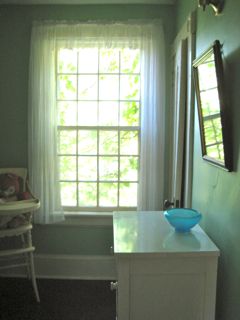
Here is the original bathroom in it's first location before the renovation.
This is the small room that I thought should be the bathroom. Here it is before.
Here it is with me trying the sink in the space, I wanted to see how the sink and tub would look in here. The guys kindly moved the very heavy tub and sink into the space so I could get an idea of how it would look and fit.
I decided I loved it. The start of the plumbing for the tub:
Here is a close up of the sink hardware and electrical wiring being done above it.
And when the changes really start...new drywall, lighting is now in....and PAINT! At this time I also had the base of the claw foot tub painted black.
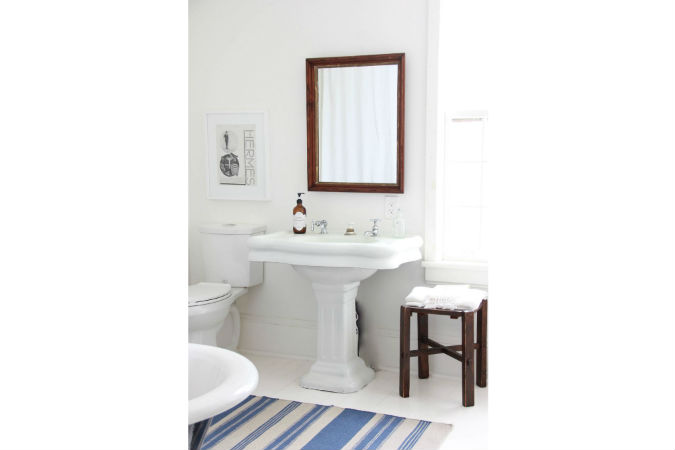
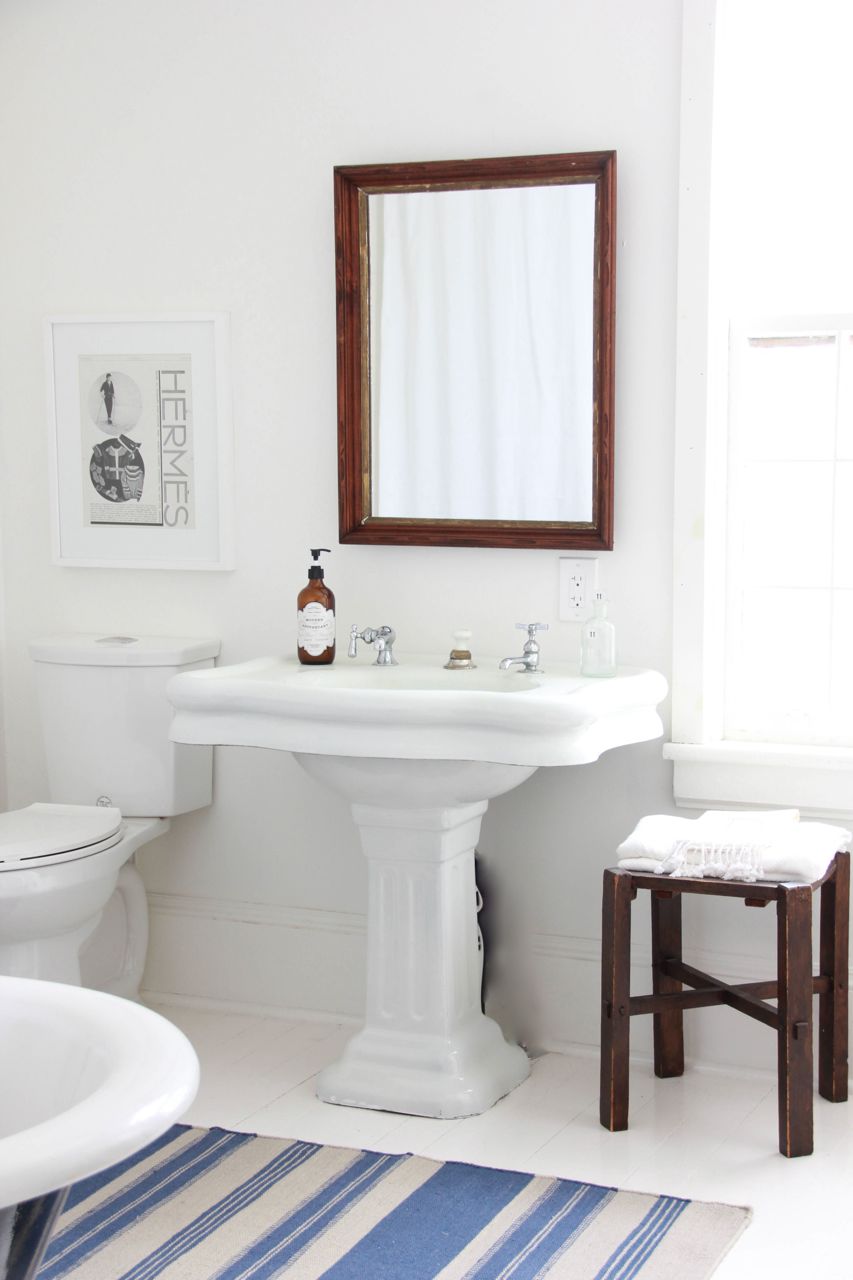
And finally the finished, renovated bathroom.
Before & After: dining room
This image above of a dining room (and the kitchen in the background), is an old shot from my last home in Toronto. Naturally, I embarked on a huge renovation in this house. I just happened to come across these "before" pictures, and I had to share them. I removed a wall between the kitchen and dining room, so the wall in the "before" is the one on the left that was removed. Oh how I love to renovate!


