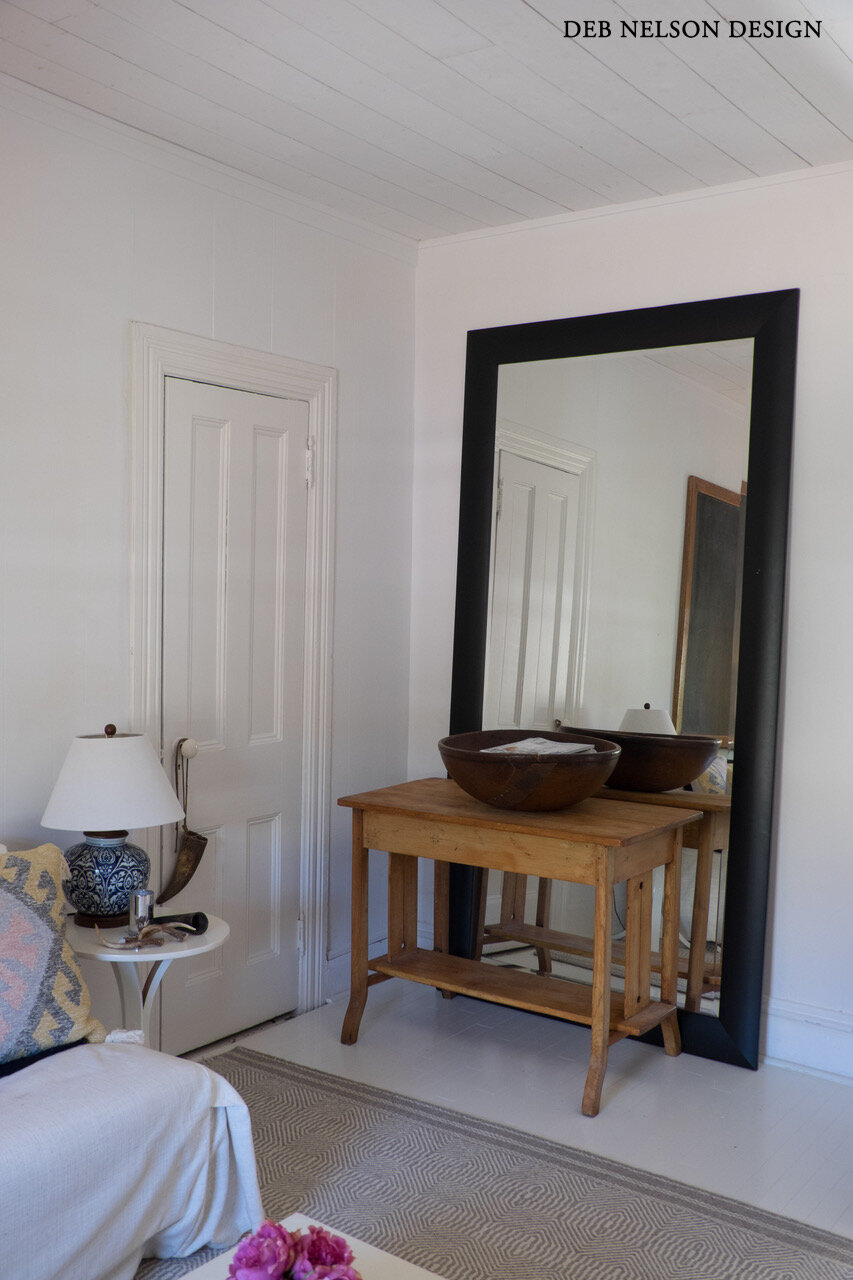
A couple of weeks ago I posted a Before and After of a ceiling that got a quick, affordable make over.
Here are the details on how I did it this budget makeover and added more character and architectural detail to the space.
1.Purchase inexpensive sheets of plywood.
I purchased 4’x8’ sheets at a hardware store and had them cut for free in-store. I went with a very cheap wood because it was going on the ceiling, so it had knots and was quite rough. If you want to create a smoother finished result you could buy a more premium wood type.
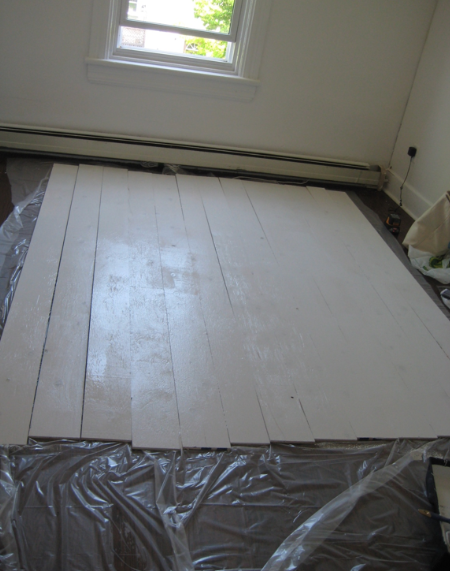
I can’t remember the exact square footage I needed, but it was easy to figure out how many sheets to buy. I did about 12 trips to the hardware store because I was carrying them in my car one load at a time. Here are the cut pieces when I brought them in:
Here is how they looked once they had a coat of paint:
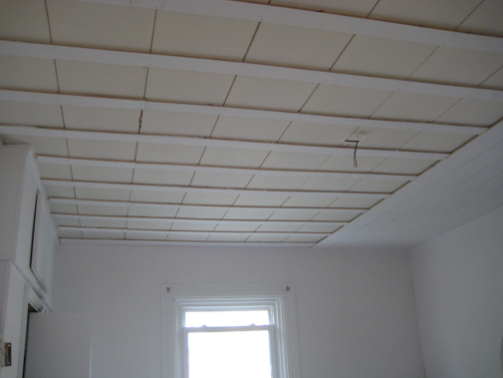
2. Install strapping and nail the boards on.
I had an amazing contractor helping on this project (Black Diamond Builders) come in to install the boards to the ceiling. To do this, they first put up strapping to have something to nail into. If you are handy, you could probably do this part yourself. Then they nailed the boards to the strapping. We left about an 1/8” gap between the new boards.
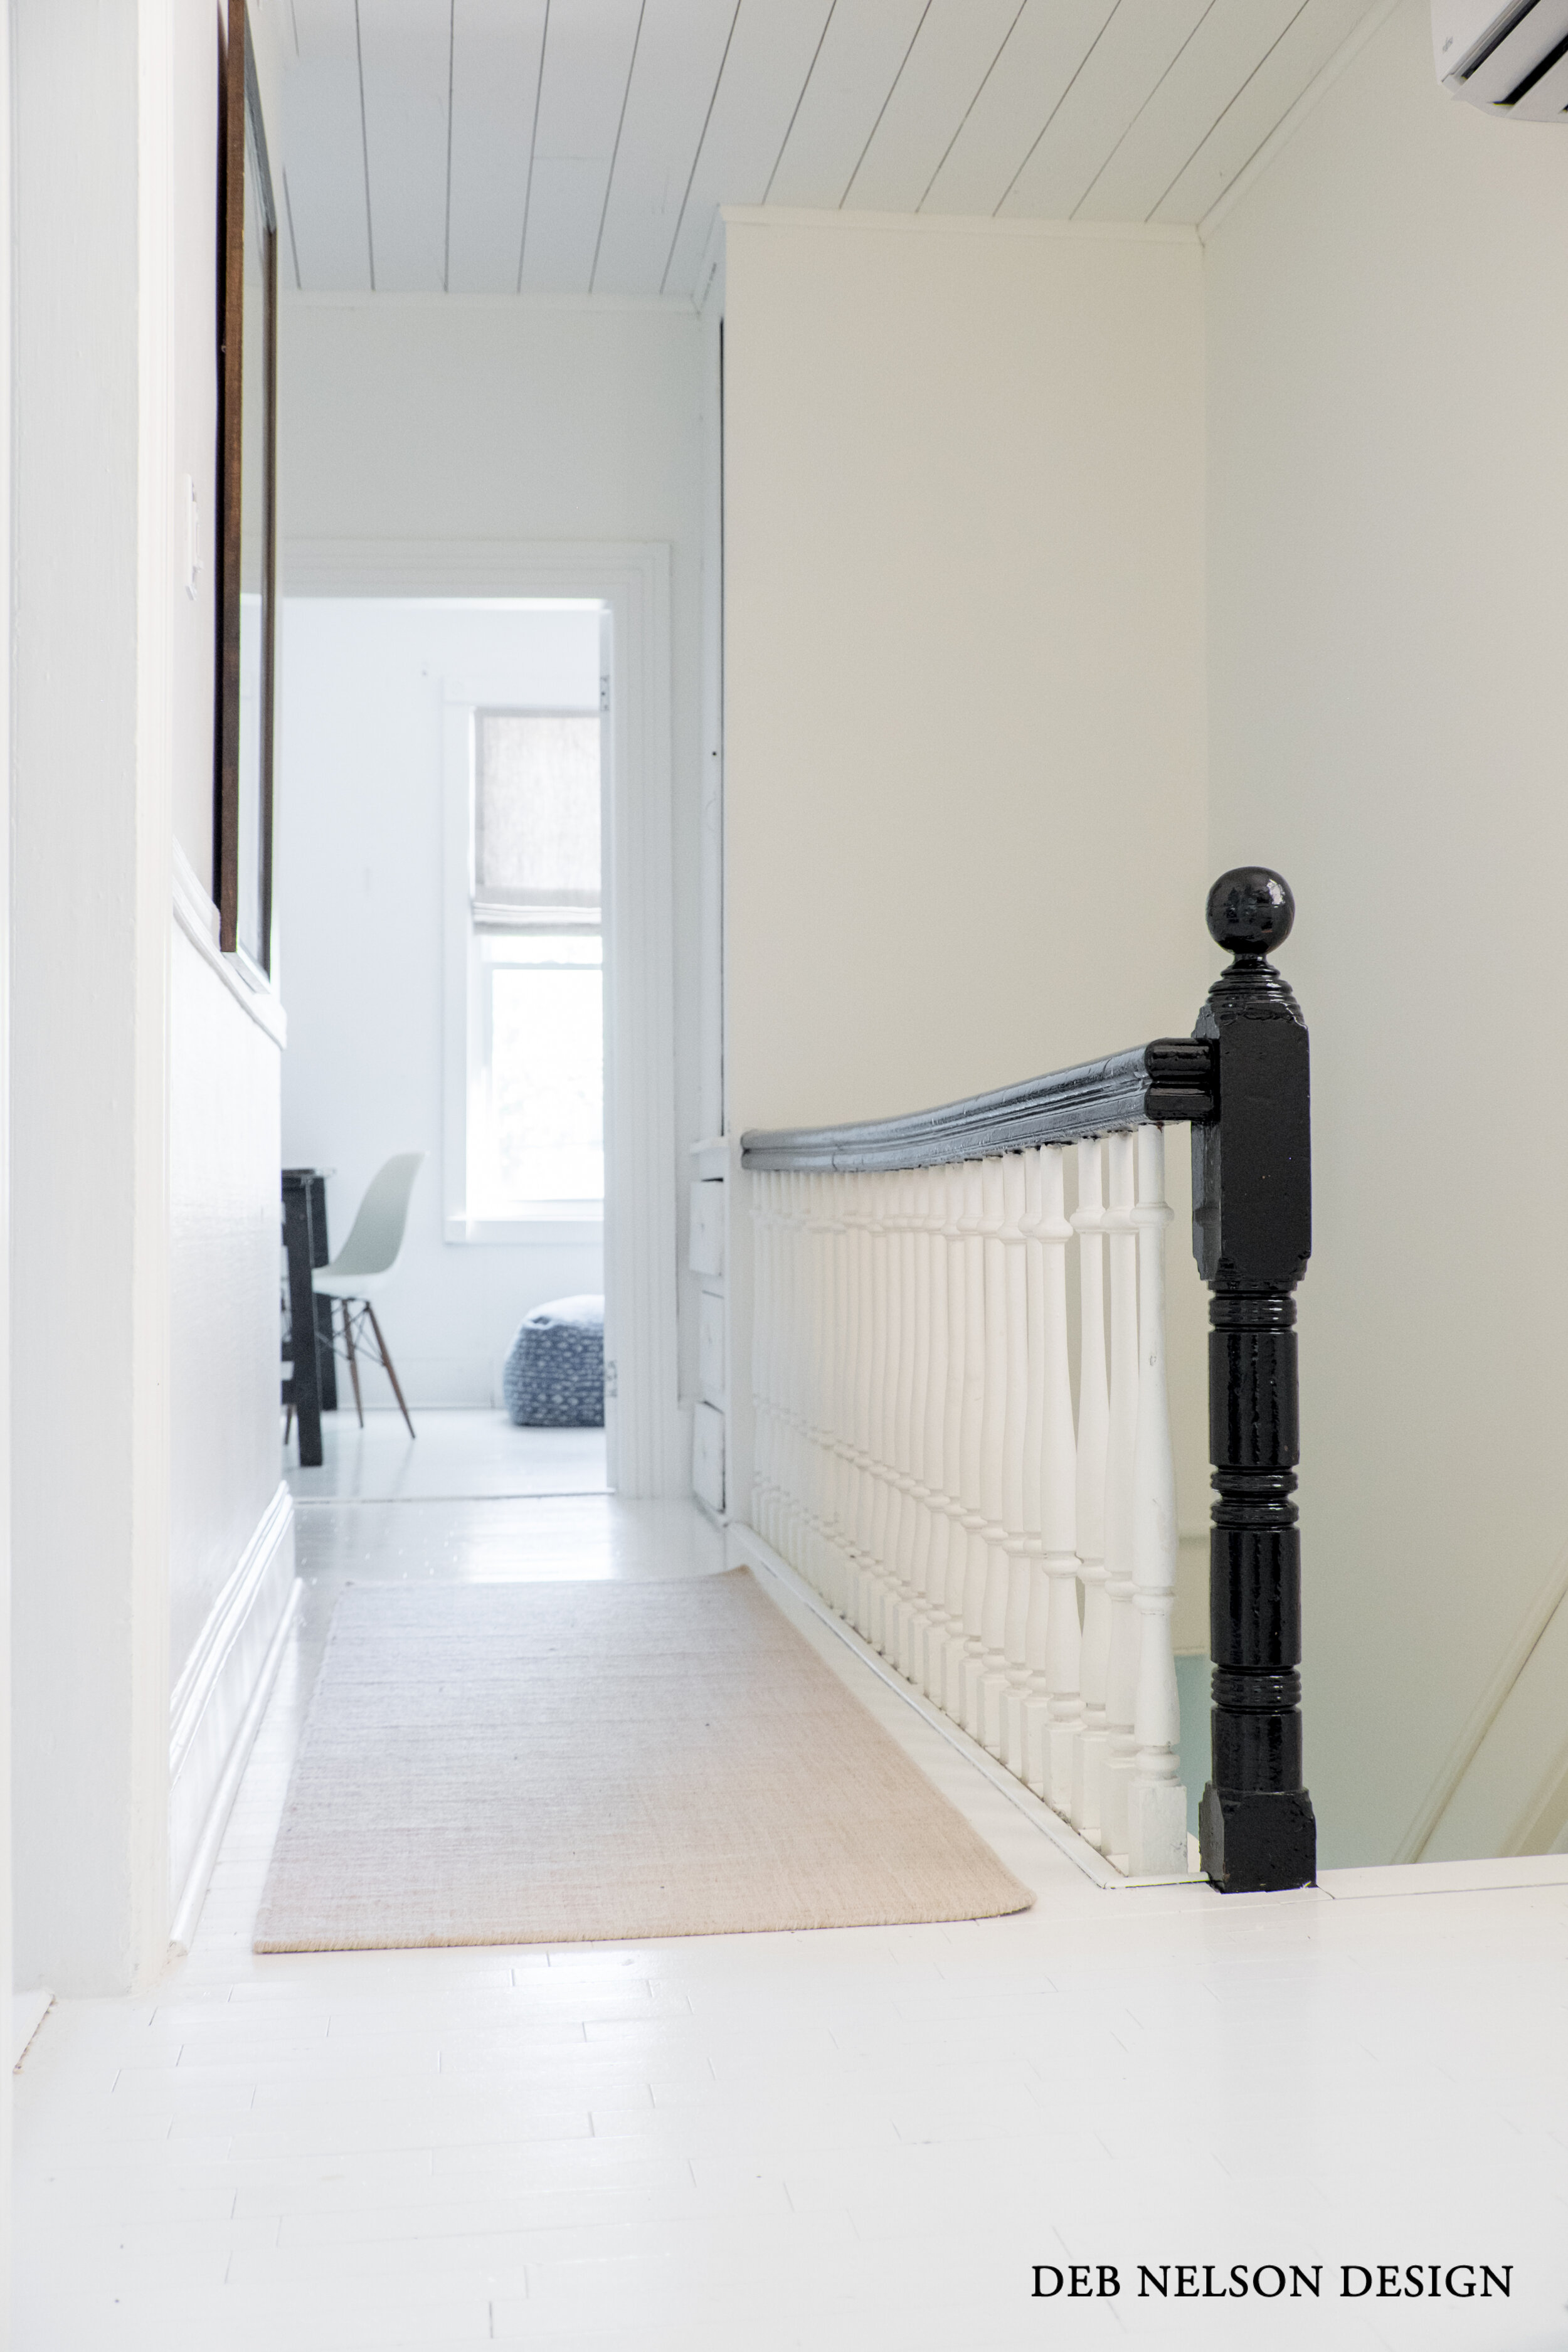
I was really happy how this turned out. I was able to do the first part of the job myself, which saved money. In the end it didn’t cost a lot and in a couple of days the whole ceiling was covered.


